In this tutorial, you’ll learn everything you’ll need to know about using Shredit for Mac OS 8 | 9 to erase a hard drive before disposal. Instructions are also available in the User’s Manual.
- How to Install ShredIt
- How to shred disk free space (erase disk free space, wipe disk freespace)
- How to shred files you’ve already deleted
- How to clean an external hard drive (clean a hard drive, wipe a hard drive, shred a disk)
- How to clean a hard drive (clean a hard drive, wipe a hard drive, shred a disk)
How to Install ShredIt for Mac OS 8 | 9
- Drag the ShredIt folder to wherever you keep application software.
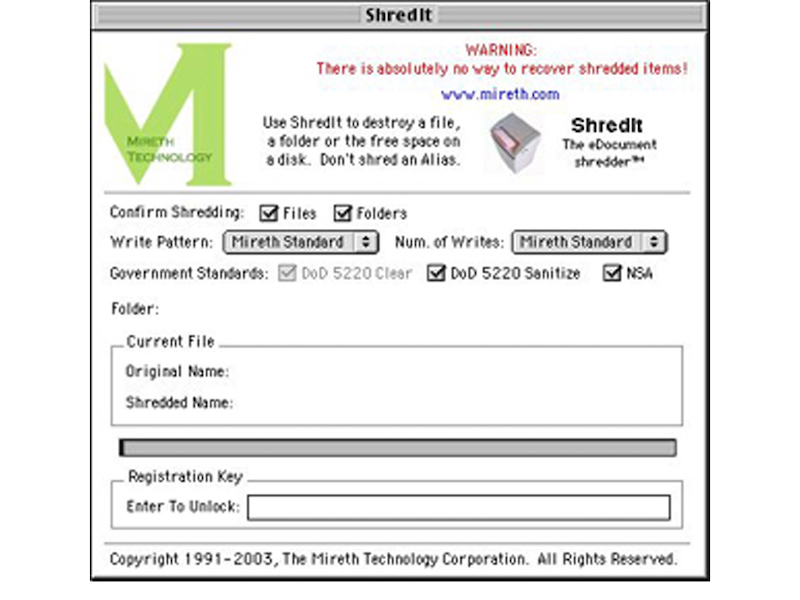
- Double click the ShredIt icon. The Registration Dialog Box will be displayed on the bottom of the Main Dialog Box.
- Enter the Registration Key/Serial Number supplied when you paid for ShredIt.If you purchased online, the easiest way to do this is to copy (Apple C) and paste (Apple V) the information from the email we sent you.
If you purchased a CD, the Registration Key/Serial Number is printed on the CD jacket.
If there is a problem with the registration information, the “Invalid Registration Information” dialog will appear. To correct the problem, refer to the “ShredIt FAQ”.
How to shred disk free space
Use this procedure to clean the disk free space on a hard drive. Disk free space is the area on your hard drive containing de-allocated memory. This is where all the data you have previously deleted is stored, until it is overwritten by something else. To shred the data you have previously deleted, you need to shred disk free space. If you have a lot of disk free space or a slow hard drive, shredding free space can take a while.
If you shred the free space on a disk by mistake, don’t panic. Using this procedure will only shred your free space, not your data. We’ve made it easy to shred the free space of a disk and more difficult to shred the contents of a disk. This is intentional, so that you don’t accidentally shred the contents of a disk (i.e. your data).
- To erase the free space on a disk using ShredIt for Mac OS 8 | 9, drag the hard drive icon onto the ShredIt Icon and drop it.

How to shred files you’ve already deleted
To shred the data you have previously deleted, you need to shred disk free space.
How to erase an external hard drive
- Move everything from the external hard drive you want to keep to another location -all the data, all the applications and the preferences of all the applications you want to keep somewhere else. The easiest way to do this is to copy the entire contents of your entire hard drive to another hard drive.
- Move all the files on the external hard drive to the trash. Empty the trash.
- If you haven’t already done so, install ShredIt.
- Using ShredIt, shred the disk free space on the disk.
How to erase a Hard Drive
Before disposing of a computer or a hard drive, we recommend that you erase all the files you don’t want the next user to be able to recover.
Read all of these instructions before continuing. Using the Hard Drive Cleaner function of ShredIt will erase your data, (i.e. your files), making the hard drive clean by destroying your data so it can’t be recovered. Before you erase the hard drive, make a backup copy of any data or applications you want to use on another computer before you shred the contents of a disk, since the files cannot be recovered from the disk after it has been shredded.
Requirements:
- ShredIt for Mac OS 8 | 9
Instructions:
- Move all the data, all the applications and the preferences of all the applications you want to keep somewhere else. The easiest way to do this is to copy the entire contents of your entire hard drive to another hard drive.
- Move all the files on the hard drive EXCEPT THE OPERATING SYSTEM to the trash. Empty the trash.
- Make sure you have moved all files that contain your data to the trash. After deleting all the obvious files, (documents, spreadsheets), look for other personal data. Pay particular attention to cache files created while surfing the internet, pictures, video files you’ve downloaded, data created by financial software.
- Using ShredIt, shred the disk free space on the disk.